

Filters allow you to chop out large sections of a sounds frequency range, providing the ability to change the character and tonality quite radically. They can also be used to emphasise the specific frequency around the filter cut-off point, making a sharp and, if desired, resonant peak that draws maximum contrast between the filtered/silenced and remaining unfiltered sound.
As a lot of successful sound design is about balancing broad, dramatic strokes of processing and effects with an ear for maintaining focus, clarity and precision, the humble filter is an absolutely key sound designers tool.
What’s more, filters can also be used dynamically — that is, adjusted over time via sequencers or automation for a whole range of special effects from rhythmic modulated fluctuations adding breath and interest to a dull beat, to sweeping through clouds of white noise to generate epic riser and dropper effects.
In this penultimate part of our sound design series, we’re going to run down some favourite tips and tricks for using filters effectively and with as much creativity and flair as possible! Many of the tips discussed will make use of other principles and tools we’ve explored in previous articles, like stereo processing, layering and distortion, so if you want to dig more into these areas, be sure to catch up on the previous parts in the series:
- Part 1 – Delay
- Part 2 – Distortion
- Part 3 – Layering
- Part 4 – Classic Modulation FX
- Part 5 – Stereo & Panning FX
- Part 6 – Pitch Shifting
- Part 7 – Reverb
- Part 8 – Step Sequencers & Envelope Generators
- Part 9 – Creative Filtering
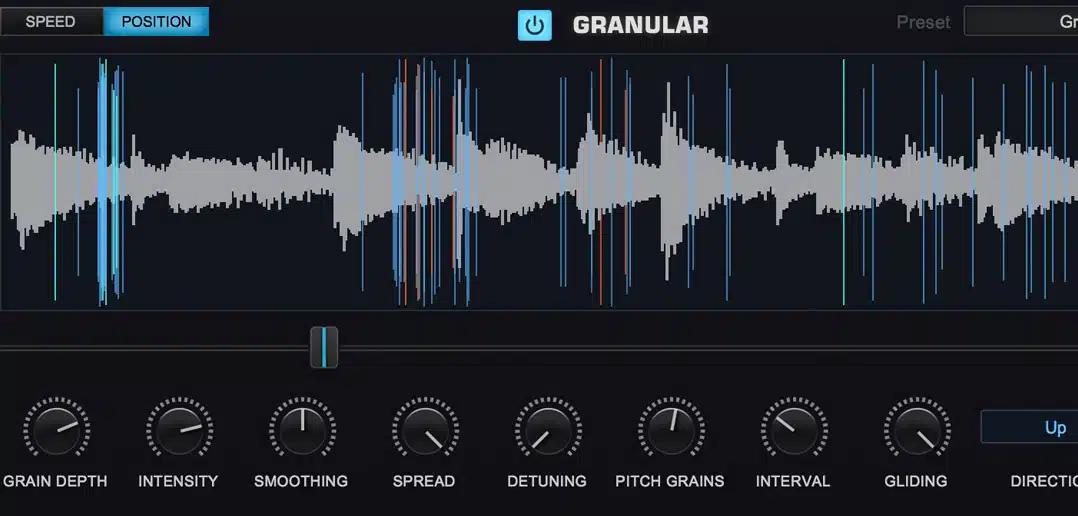
- Part 10 – Granular Synthesis & Sample Processing
There is also a lot of general information on the different types of filters, their functions and the best filter plugins in our article The 10 Best Creative Filter Plugins In The World, so check that out if you’re not sure about any of the terminology I use here.
What’s the difference between a filter and an EQ?
There is a lot of crossover in functionality between filters and EQs; in fact, an equaliser is made up of a series of what technically can be described as filters. The differences mainly apply to how they are typically used in practice. Whereas you might use an EQ to make relatively subtle tonal changes for rebalancing of the frequency spectrum, filters can be used for more dramatic frequency sculpting, completely removing whole sections of the frequency spectrum and emphasising others with resonance and cutoff controls, making them important tools for sound design duties.
There’s obviously a lot of overlap in functionality, particularly in the modern digital/plugin domain, since EQs like FabFilters Pro-Q 3 can easily be used for simple filtering duties and automated for simple filter sweeps. But what the best creative filters also incorporate are some kind of sequencing or modulation element, which means that rather than being held at a static setting, they can be programmed to behave differently over time, usually rhythmically. This modulated filtering is what can really imbue your sounds with additional movement, and as we know from all the previous instalments in this series: movement = life and interest. Here are some of my favourite tricks for using filters in creative sound design projects:
1. Stereo Filtering
You don’t need to apply the same filter settings to both channels of a stereo signal. Try treating the left and right channels with different filter cutoff frequency and resonance settings which can literally open the sound right up, giving the impression of pushing it out to the sides for extreme width. Remember that you can also automate the filters in each channel to modulate over time, adding really interesting movement from very subtle undulations to swirling psychedelic madness.
There are several ways to set this up, and which you choose might depend on which DAW and filter plugins you’re using, or just your personal preference and what other effects processing you might want to do. If your DAW allows you to split or render out each side of a stereo sample or track to its own mono audio channel, that’s one simple way. Alternatively, you could use two send FX channels, have each one panned hard left and right, and have separate filter instances with different setting son each one. And of course some filter plugins have built-in stereo functionality, for example Fabfilters excellent Volcano 2.
For more on this variant of the Haas Effect phenomenon, check out our article on this and other psychoacoustic tricks that are incredibly useful for sound design.
2. Resonant Peaks To Boost Kick Weight
This trick stems from the days of beefing up sampled kick drums on the MPC, but can be used on any sound that you want to add more sub and low-frequency weight to. Insert your filter on the channel and turn the Resonance control almost all the way up. This works best with analog-modelled filters that self-oscillate when pushed to extreme settings. You’ll know when your filter is going into self-oscillation when it begins to emit a constant howl at high Resonance settings. Now, with your sound playing back, adjust the Resonance control so that it is just below self-oscillation, and then sweep the Cutoff down to where you can hear the filter applying a healthy emphasis somewhere in the low frequency range. Adjust each of the filter settings to taste, and you should quickly find a sweet spot where even the limpest low frequency kick or FX hit can be super-charged with targeted low-end power.
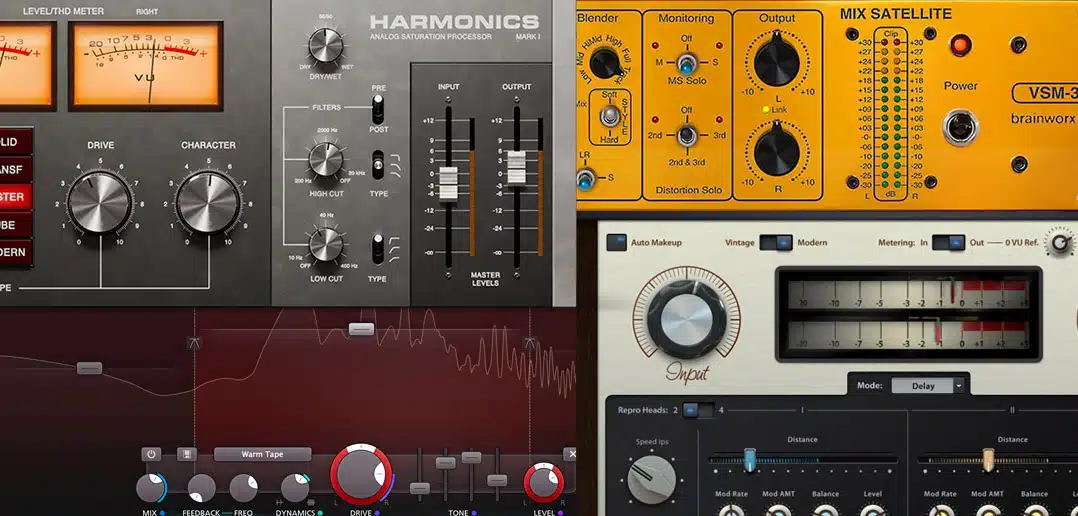
3. Drive For Warm, Gritty Harmonics
Most filter plugins have a Drive knob which can be used to saturate the filtered signal. Experiment with how the Drive knob impacts the sensitivity of the other filter controls, and of course see how you can abuse it with extreme settings for creative effect.
4. Radically Transform Sounds By Filtering Out Their Most Characteristic Frequencies
Much of our efforts in sound design sessions are spent on attempting to disguise the origins of our sometimes mundane or uninspiring source material, and transform it into something otherworldly, or industrial, or organic. One excellent way to approach this challenge is to hone in on what gives a source sound it’s distinctive and most recognisable character, and then filter out the frequencies where this character resides. For example, maybe you have a sample of a car door being swung closed. This is a pretty recognisable sound as everyone is extremely familiar with it from their daily lives. But what makes it so recognisable in terms of frequency content? There’s the rush of air right before the impact, and then a muted “clump” together with maybe a couple of subtle metallic rattles (depending on the age of your car I guess!). That’s at least 3 different layers of sounds, each occupying a distinct frequency range, and any of them could be isolated and soloed or muted with a filter. Combine this with other common sound design techniques – reversing, pitch-shifting etc. – and you can very quickly make a dozen FX hits which sound nothing like a car door, and which can be tailored for a whole variety of uses.
5. Never Underestimate The Power Of A Filter Sweep To Add Instant Drama
It’s perhaps the oldest trick in the synth programming book, but gradually opening up or closing down a low-pass filter gives the impression of the sounds energy expanding or contracting. Layered with other sounds, it doesn’t have to be in-your-face obvious, but can be a subtle background element for all kinds of percussion and spot FX hits also.
6. Add Filtered White Noise Layers To Your Other Elements
If your lead synth lines are lacking presence, sparkle or just raw grit, adding a filtered white noise layer to the synth notes could be just the thing for adding missing bite. The simplest way to do this is generally to duplicate the synth MIDI pattern, and have the duplicate play back a basic white noise preset in your favourite soft synth. For example, u-he Diva and Xfer Serum both feature dedicated Noise oscillators, so all you have to do is initialise the synth to a blank preset, mute the other oscillators if necessary and crank the noise oscillator up to full. Use the synths built-in filter, in either low-pass or high-pass mode, to shave off unwanted parts of the noise and help it blend perfectly with the original synth sound. This technique can be applied to drum and percussion samples very effectively too: add a white noise hit to anything from kicks to snares, hats and punchy perc FX for extra cut and presence in a busy mix.
With percussion, a nice additional trick is to subtly modulate the filter cutoff on the noise layer with an LFO or other automation signal, adding an extra level of variation and interest to a repetitive drum pattern or groove.
7. The Magic Happens Around The Cutoff Frequency
As I referred to in the intro, when using filters, perhaps the most important thing to focus your ear on is the point in the frequency spectrum where the cutoff is starting. The cutoff control interacts with the Resonance and Slope settings dynamically: that is, change any one of these, and it changes the character of all three.
8. Multiple Filters In Series
Now we’re getting into one of my all-time favourite techniques. Things get especially interesting tonally when you stack multiple filters on top of each other, each with their own slope, band and modulation settings.
My favourite way of creating Incredibly expressive synth leads is by performing multiple passes of automation recording on a couple of different plugins inserted one after the other, layering up little sweeps and shifts that can sound incredibly expressive. Experiment with layering different filter modes together: low-pass and hi-pass; low-pass and band-pass; two band-pass filters etc.
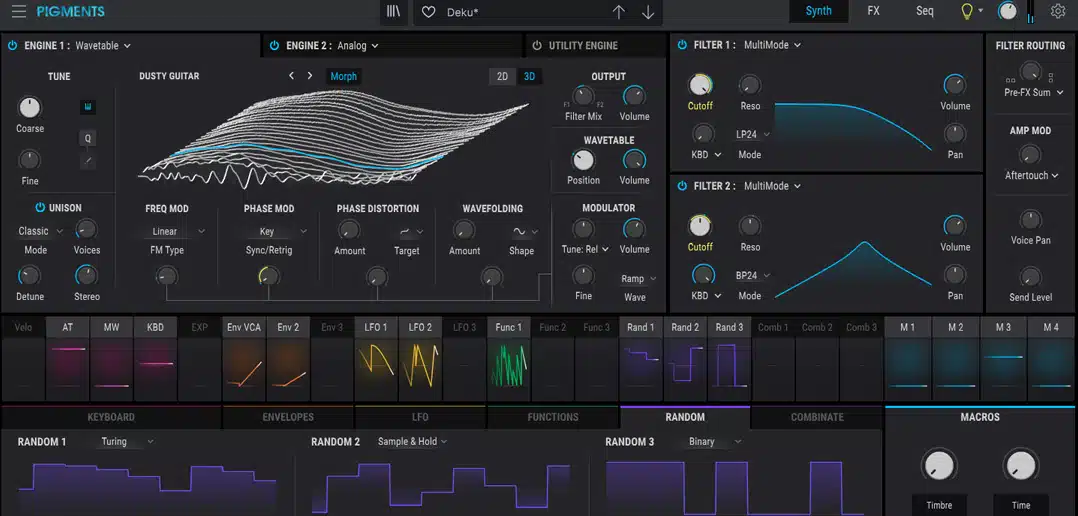
9. Modulate With LFOs And Envelopes
One of the most powerful aspects of filter plugins like Volcano 2, Cytomics The Drop and other advanced filter plugins is their modulation options. LFOs, XLFOs and Envelope Generators can be assigned to any filter parameter, including other modulator parameters, so they can modulate each other for almost infinitely complex and evolving filtered textures with surprisingly little work. Perfect for sustained pads and atmospheres, and for the filters-in-series trick mentioned above.
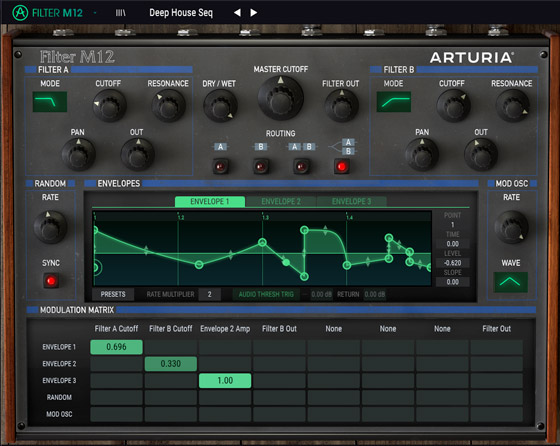
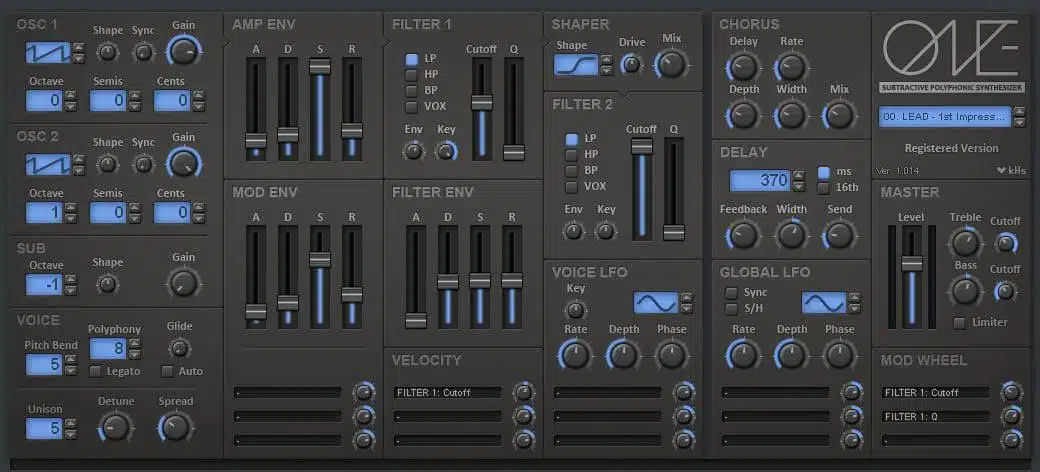
10. Give Your Synth Plugins A Modulation Upgrade With Additional Filters
Some of the best-sounding synth plugins are modelled on classic analogue hardware synthesizers of the last 40 years, which means their raw sound is great but they can be fairly basic in terms of routing, filtering and modulation options. But if you add a powerful filter plugin like The Drop or one of Arturia’s 3 Filters You’ll Actually Use to the synths insert effects chain, you have effectively given the synth a dramatic flexibility and modulation enhancement. This is something like what Hans Zimmer may have had in mind when he requested the Diva filters be added to his custom version of u-he’s Zebra, ZebraHZ; but you don’t have to be a world-class composer to effectively make similar “mods” to whichever synth you like!
11. Combine Filters With Other Plugin Processors And Effects
Combine pitch-shifting with heavy filtering and you can literally transform a sound beyond recognition. Try pitching down a fairly high-pitched percussive hit or synth note, so that all that energy which previously occupied the higher range is brought down to the mids or low range. Then use a high-pass filter to remove any bunched-up frequency content that has been brought down into the sub/bass range and will only contribute mud and boominess. Now you have a clean mid-range sound with a bunch of grit and texture quite unlike anything you would normally generate from scratch with a synth or drum machine. Layer with other sounds to taste, if you want to re-fill out any missing frequencies for additional punch.
12. FX Order: Think About Where In Your FX Chain The Filter Will Go
The order in which your plugins are placed will greatly impact the final sound of the channel, as the output of each one has a bearing on the effect of the next. A saturation effect preceded by a filter will sound completely different to the same two plugins the other way round, for example, while adding heavy compression to the chain will have a different effect depending on whether it comes first or last. Once you’ve come up with some interesting effect chains, try dragging and dropping them around to see if you can come up with variations that work better or just differently. Sometimes reordering can make a subtle difference; other times, you can stumble on whole new effects to add to your toolbox.
As I mentioned near the top of the post, I’ve already covered a lot of info and filter plugin recommendations in The 10 Best Creative Filter Plugins In The World,, so check that out for further ideas.
For a bunch more sound design tips and other related plugin recommendations, catch up on the previous parts in the series:
- Part 1 – Delay
- Part 2 – Distortion
- Part 3 – Layering
- Part 4 – Classic Modulation FX
- Part 5 – Stereo & Panning FX
- Part 6 – Pitch Shifting
- Part 7 – Reverb
- Part 8 – Step Sequencers & Envelope Generators
- Part 9 – Creative Filtering
- Part 10 – Granular Synthesis & Sample Processing
For a lot more sound design and processing tips, check out the Ultimate Guides series, a definitive collection of tips and techniques for enhancing your music and bringing it to a professional level:
If you liked this post, you’ll definitely find these useful too:
What’s The Best DAW Music Production Software, Really? An Essential Buyers Guide