When talking about improving the perceived quality of our productions and mixes, its easy to focus mainly on the technology we use, or the layout and acoustic treatment of our listening environment.
It’s easy to forget that just as important as our software, equipment and studio is what happens to the signal after all of that, once the sound has made it into our internal hearing system – our ears and brains – and how that sound is actually experienced.
So that’s what this article is about: some tips and tricks for operating and manipulating your listeners built-in ‘equipment’!
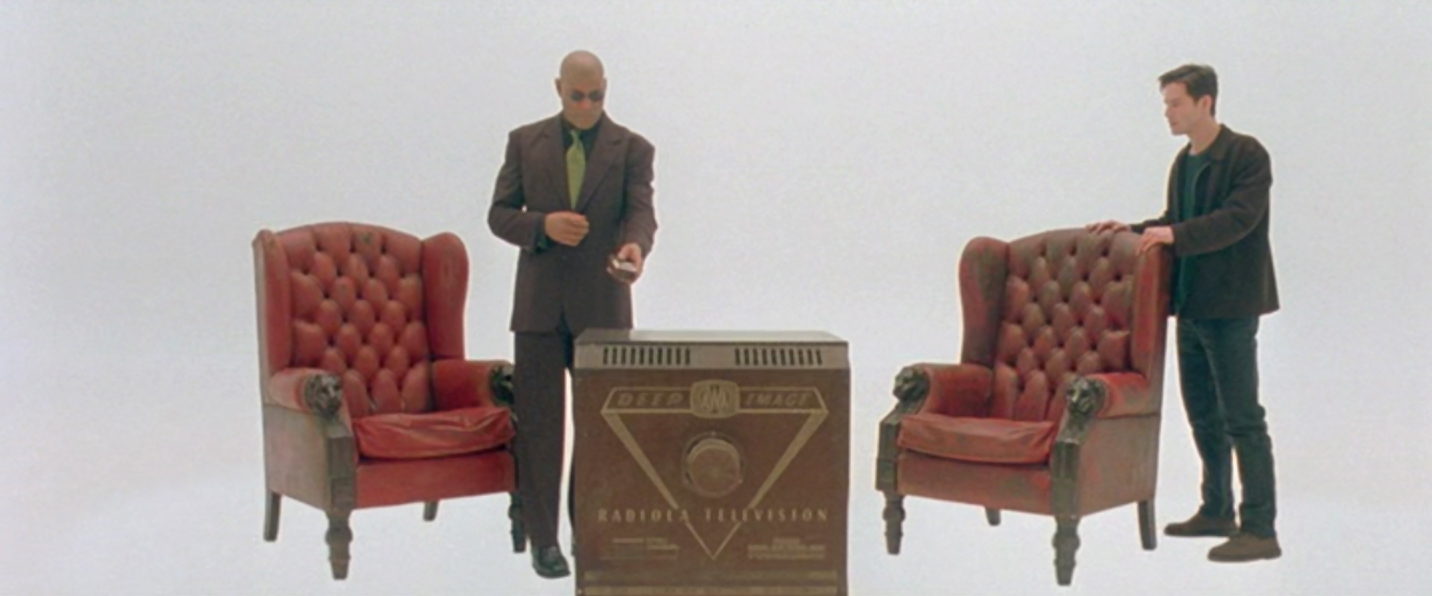
“If real is what you can feel, smell, taste and see, then ‘real’ is simply electrical signals interpreted by your brain…”
This basically falls under the heading of psychoacoustics, and with knowledge of a few psychoacoustic principles, there are ways that you can essentially ‘hack’ the hearing system of your listeners to bring them a more powerful, clear and ‘larger than life’ exciting experience of your music. Knowing how the hearing system interprets the sounds we make, we can creatively hijack that system by artifically recreating certain responses it has to particular audio phenomena.
Here you’ll also gain some extra insights into how and why certain types of audio processing and effects are so useful, particularly EQ, compression and reverb, in crafting the most satisfying musical experience for you and your listeners.
For example, if you incorporate the natural reflex of the ear to a very loud hit (which is to shut down slightly to protect itself) into the designed dynamics of the original sound itself, the brain will still perceive the sound as loud even if it’s actually played back relatively quietly. You’ve fooled the brain into thinking the ear has closed down slightly in response to ‘loudness’. Result: the experience of loudness, quite distinct from actual physical loudness. Magic…

“Because you have to wonder: how do the machines know what Tasty Wheat tasted like? Maybe they got it wrong. Maybe what I think Tasty Wheat tasted like actually tasted like a crunchy Skrillex bassline…” etc etc.
That’s probably enough Matrix references, so let’s free your mind (ha!) and read on:
1. The Haas Effect
Named after Helmut Haas who first described it in 1949, the principle behind the Haas Effect can be used to create an illusion of spacious stereo width starting with just a single mono source.
Haas was actually studying how our ears interpret the relationship between originating sounds and their ‘early reflections’ within a space, and came to the conclusion that as long as the early reflections (and also for our purposes, identical copies of the original sound) were heard less than 35ms after and at a level no greater than 10dB louder than the original, the two discreet sounds were interpreted as one sound. The directivity of the original sound would be essentially preserved, but because of the subtle phase difference the early reflections/delayed copy would add extra spatial presence to the perceived sound.
So in a musical context, if you want to thicken up and/or spread out distorted guitars for example, or any other mono sound source, it’s a good trick to duplicate the part, pan the original to extreme right or left and pan the copy to the opposite extreme. Then delay the copy by between about 10-35ms (every application will want a slightly different amount within this range), either by shifting the part back on the DAW timeline or by inserting a basic delay plugin on the copy channel with the appropriate delay time dialled in. This tricks the brain into perceiving fantastic width and space, while of course also leaving the centre completely clear for other instruments.
You can also use this technique when all you really want to achieve is panning a mono signal away from the busy centre to avoid masking from other instruments, but at the same time you don’t want to unbalance the mix by panning to one side or the other only. The answer: Haas it up and pan that mono signal both ways.
Of course there’s also nothing stopping you delaying slightly one side of a real stereo sound, for example if you wanted to spread your ethereal synth pad to epic proportions. Just be aware you will also be making it that much more ‘unfocused’ as well, but for pads and background guitars this is often entirely appropriate.
As you play with the delay time setting you’ll notice that if it’s too short you get a pretty nasty out-of-phase sound; too long and the illusion is broken, as you start to hear two distinct and separate sounds – not what you want here. Somewhere in between it’ll be just right and you’ll find just the space you want.
Also be aware that the shorter the delay time used, the more susceptible the sound will be to unwanted comb filtering when the channels are summed to mono – something to consider if you’re making music primarily for clubs, radio or other mono playback environments.
You’ll probably also want to tweak the levels of each side relative to each other, to maintain the right balance in the mix and the desired general left-right balance within the stereo spectrum.
Don’t forget you can apply additional effects to one or both sides: for example try applying any subtle LFO-controlled modulation or filter effects to the delayed side for added interest.
A final word of caution: don’t overdo it! Use the Haas Effect on one or two instruments maximum in a full mix, to avoid completely unfocusing the stereo spread and being left with phasey mush.
2. Frequency Masking
There are limits to how well our ears can differentiate between sounds occupying similar frequencies. Masking occurs when two or more sounds occupy the exact same frequencies: in the ensuing fight, generally the louder of the two will either partially or completely obscure the other, which seems to literally ‘disappear’ from the mix.
Obviously this is a pretty undesirable ‘phenomenon’, and it’s one of the main things to be aware of throughout the whole writing, recording and mixing process. It’s one of the main reasons EQ was developed, which can be used to carve away masking frequencies at the mix, but it’s preferable to avoid major masking problems to begin with at the writing and arranging stages, using notes and instruments that each occupy their own frequency range.
Even if you’ve taken care like this, sometimes masking will still rear it’s ugly head at the mix, and it’s difficult to determine why certain elements still sound different soloed than they do in the full mix context. The issue here is likely to be that although the root notes/dominant frequencies of the sound have the space they need, the harmonics of the sound (that also contribute to the overall timbre) appear at different frequencies, and it’s these that may still be masked.
Again, this is probably the point where EQ comes into play: there’s much more info on strategies for EQing to enhance character and clarity in The Ultimate Guide To EQ.
3. The Ear’s Acoustic Reflex
As mentioned in the introduction, when confronted with high-intensity stimulus – or as Brick Tamland from Anchorman would put it, ‘Loud noises!’ – the middle ear muscles involuntarily contract, which decreases the amount of vibrational energy being transferred to the sensitive cochlea (the bit that converts the sonic vibrations into electrical impulses for processing by the brain). Basically, the muscles clam up to protect the more sensitive bits.
The brain is used to interpreting the dynamic signature of such reduced-loudness sounds, with the initial loud transient followed by immediate reduction as the ear muscles contract in response, so it still senses ‘very loud sustained noise’.
This principle is often used in cinematic sound design and is particularly useful for simulating the physiological impact of massive explosions and high-intensity gunfire, without inducing a theatre full of actual hearing-damage lawsuits.

Check out the visceral fuel station explosion in modern classic 28 Days Later (that leads to this scene with flaming zombies!) for an expert example of audio-enhanced violence. Not to mention the excellently done noises of the zombies themselves…
The ears reflex to a loud sound can be simulated by playing manually with the fine dynamics of the sounds envelope. For example, you can make that explosion appear super-loud by actually shutting down the sound artificially following the initial transient: the brain will interpret this as the ear responding naturally to an extremely loud sound – perceiving it as louder and more intense than the sound actually, physically is. This also works well for booms, impacts and other ‘epic’ effects to punctuate the drops in a club or electronic track.
The phenomenon is also closely related to why compression in general often sounds so exciting and can be used in it’s own way to simulate ‘loudness’… more on that below.
4. Create the impression of power and loudness even at low listening levels
If you take only one thing away from this article, it should be this: the ears natural frequency response is non-linear. Or more specifically, our ears are more sensitive to mid-range sounds than to frequencies at the extreme high and low ends of the spectrum. We generally don’t notice this as we’ve always heard sound this way and our brains take the mid-range bias into account, but it does become more apparent when we’re mixing, where you’ll find that the relative levels of instruments at different frequencies will change depending on the overall volume you’re listening at.
Before you give up entirely on your producing aspirations with the realisation that even your own ears are an obstacle to achieving the perfect mix, take heart that there are simple workarounds to this phenomenon. And not only that, but you can also manipulate the ears non-linear response to different frequencies and volumes to create an enhanced impression of loudness and punch in a mix, even when the actual listening level is low.
The non-linear hearing phenomenon was first written about by researchers Harvey Fletcher and Wilden A. Munson in 1933, and although the data and graphs they produced have since been slightly refined, they were close enough with their findings that ‘Fletcher-Munson’ is still a shorthand phrase for everything related to the subject of ‘equal loudness contours’.
Generally, taking all this into account you should be able to do the best balancing at low volumes (this also saves your ears from unnecessary fatigue, so I’d recommend it anyway). Loud volumes are generally not good for creating an accurate balance because, as per Fletcher-Munson, everything seems closer.
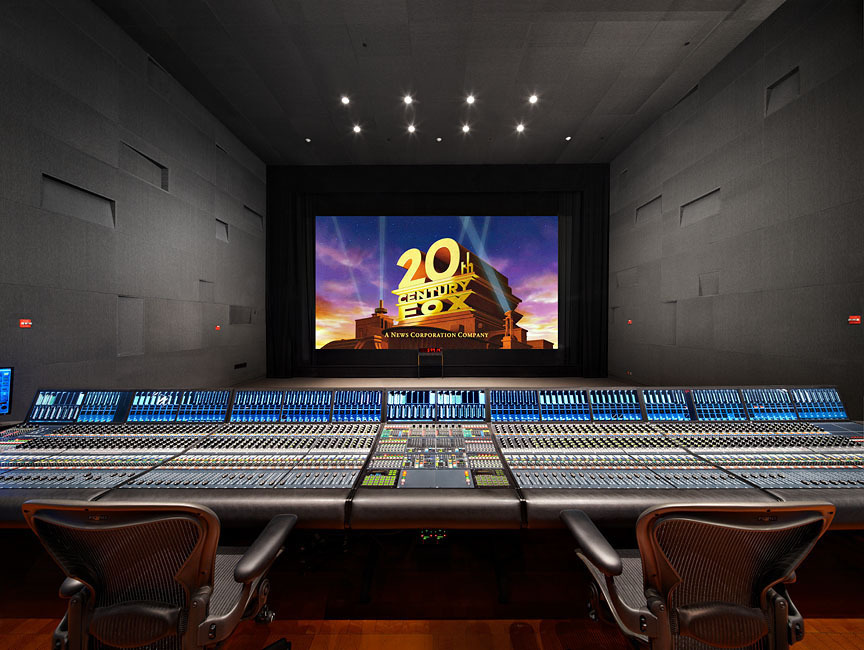
In certain situations, for example when mixing sound for films, it’s better to mix at the same level and in a similar environment to where the film will eventually be heard in theatres: this is why film dubbing theatres look like actual cinemas, and are designed to essentially sound the same too. It’s the movie industry’s big-budget equivalent of playing a pop mix destined for radio play on your car stereo: the best mixes result from taking into account the end listener and their environment, not necessarily mixing something that only sounds great in a $1 million studio.
So, how does our ears sensitivity to the mid-range actually manifest on a practical level? Try playing back any piece of music at a low level. Now gradually turn it up: as the level increases, you might notice that the ‘mid-boost’ bias of your hearing system has less of an effect, with the result that the high- and low-frequency sounds now seem proportionally louder (and closer, which we’ll go into in the next tip).
Now the exciting part: Given that extreme high and low frequencies stand out more when we listen to loud music, we can create the impression of loudness at lower listening levels by attenuating the mid-range and/or boosting the high and low ends of the spectrum. On a graphic EQ it would look like a smiley face, and it’s why producers will talk about ‘scooping the mid-range’ to add weight and power to a mix.

Pendulum are masters of smart mix dynamics
This trick can be applied in any number of ways, from treating the whole mix to some (careful) broad EQ at mixdown or mastering, to applying a ‘scoop’ to just one or two broadband instruments or mix stems i.e. just the drums or guitars submix. As you gain experience and get your head around this principle (if you have a good ear for such things you might already be doing it naturally), you can begin to build your track arrangements and choices of instrumentation with an overall frequency dynamic in mind right from the beginning. This is especially effective for styles like Drum & Bass, where you can achieve amazingly impactful and rich-sounding mixes with just a few elements that really work those high and (especially) low ends for all they’re worth;

Nevermind, produced by Butch Vig
the mid-range leveling can then act primarily as an indicator of a ‘nominal’ base level, made artificially low like a false floor, simply to enhance the emphasis on the massive bass and cutting high-end percussion and distortion. The same works well for rock too: just listen to Nirvana’s Nevermind for a classic, thundering example of scooped mids dynamics.
Just remember to be subtle: it’s easy to overdo any kind of broad frequency adjustments across a whole mix, so if in doubt, leave it for mastering.
5. Equal Loudness Part II: Fletcher-Munson Strikes Back
Of course the inverse of the closer/louder affect of the ears non-linear response is also true, and equally useful for mix purposes: to make things appear further away, instead of boosting you roll off the extreme highs and lows. This will create a sense of front-to-back depth in a mix, pushing certain supporting instruments into the imaginary distance and keeping the foreground clear for the lead elements.
This and the previous trick work because a key way that our ears interpret how far away we are from a sound source is by the amount of high- and low-frequency energy present relative to the broader mid-range content. This is all because the ears have adapted to take into account the basic physics of our gaseous Earth atmosphere: beyond very short distances the further any sound travels, the more high-frequency energy (and to a slightly lesser extent, extreme low-end as well) will simply be dissipated into the air, the atmosphere it’s travelling through.
Therefore, to push a sound further back in the mix, try rolling off varying amounts of its higher frequencies and hear it recede behind the other elements. This is often particularly useful for highlighting a lead vocal in front of a host of backing vocals (cut the BVs above around 10kHz, possibly boost the lead vocal in the same range slightly). I also find it useful when EQing drum submixes to ensure the drums are overall punchy but not too in-your-face frontal (a touch of reverb is also an option here of course).
There’s a lot more related info on this in The Ultimate Guide To EQ and The Ultimate Guide To Reverb.
6. Transients appear quieter than sustained sounds of the same level
This is the key auditory principle behind how compression makes things sound louder and more exciting without actually increasing the peak level. Compressors are not as intuitively responsive as the human ear, but they are designed to respond in a similar way in the sense that short duration sounds aren’t perceived as being as loud as longer sounds of exactly the same level (this is called an RMS or ‘Root Mean Square’ response, a mathematical means of determining average signal levels).
So compressing the tails of sounds such as drums, that are relatively quiet compared to the high-energy initial transient attack, fools the brain into thinking the drum hit as a whole is significantly louder and punchier, although the peak level – the transient – has not changed. This is how compressors allow you to squeeze every ounce of available headroom out of your sounds and mix: as ever though, just be careful not to ‘flatline’ your mix with over-compression.
Again, there’s a lot more related info on this and all aspects of compressors in The Ultimate Guide To Compression.
7. Reverb Early Reflection ‘Ambience’ For Thickening Sounds
If you combine part of the principle behind the Haas Effect with the previous tip about sustained sounds being perceived as louder than short transients at the same level, you’ll already understand how adding the early reflections from a reverb plugin can be used to attractively thicken sounds. It can take a moment to get your head around if you’re very used to the idea that reverb generally diffuses and pushes things into the background. Here, we’re using it without the characteristic reverb ‘tail’, to essentially multiply up and spread over a very short amount of time the initial transient attack portion of the sound. By extending this louder part of the sound we’ll get a slightly ‘thicker’ sound, but in a very natural ‘ambient’ way that is easily sculpted and tonally finetuned with the various reverb controls. And with the distancing and diffusion effects of the long tail you can retain the ‘upfront’ character of the sound.
This is something I go into properly in The Ultimate Guide To Reverb, so check that out for more details!
8. Decouple a sound from it’s source
A sound as it is produced, and the same sound as it is perceived in it’s final context are really not the same thing at all.
This is a principle that is exploited quite literally in movie sound effects design, where the best sound designers develop the ability to completely dissociate the sonic qualities and possibilities of a sound from its original source. This is how Ben Burtt came up with the iconic sound of the lightsabers in Star Wars:
“I had a broken wire on one of my microphones, which had been set down next to a television set and the mic picked up a buzz, a sputter, from the picture tube – just the kind of thing a sound engineer would normally label a mistake. But sometimes bad sound can be your friend. I recorded that buzz from the picture tube and combined it with the hum [from an old movie projector], and the blend became the basis for all the lightsabers.”
– Ben Burtt, in the excellent The Sounds Of Star Wars interactive book
Does that make Burtt one of the original Glitch producers..?

Johnny Cash
Also consider Johnny Cash’s track I Walk The Line, which featured his technique of slipping a piece of paper between the strings of his guitar to create his own ‘snare drum’ effect. Apparently he did this because snares weren’t used in Country music at the time but he loved their sound and wanted to incorporate it somehow. The sound, coupled with the ‘train-track’ rhythm and the imagery of trains and travel in the lyrics, brings a whole other dimension to the song. And all with just a small piece of paper.
One last example: the Roland TR-808 and TB-303 were originally designed to simulate real drums and a real bass for solo musicians. They were pretty shocking at sounding like real instruments, but by misusing and highlighting what made them different from the real thing – turning the bass into screaming acid resonance and tweaking the 808 kick drum to accentuate its now signature ‘boom’ – originating Techno producers like Juan Atkins and Kevin Saunderson perceived the potential in their sounds for something altogether more exciting than backing up a solo guitarist at a pub gig.
So remember that whether you’re creating a film sound effect or mixing a rock band, you don’t have to settle for the raw or typical instrument sounds you started with. Similarly, if you find that upside-down kitchen pans give you sounds that fit your track better than an expensive tuned drum kit, use the pans! If you find pitched elephant screams are the perfect addition to your cut-up Dubstep bassline (it works for Skrillex), by all means… The only thing that matters is the perceived end result – no-ones ears care how you got there! (What’s more, they’ll be subliminally much more excited and engaged by sounds coming from an unusual source, even if said sounds are taking the place of a conventional instrument in the arrangement.)
9. Layering sounds into a complex ‘whole’

Amon Tobin knows a thing or two about layering, unusual samples and cinematic sounds
We’ve already mentioned that our ears can have trouble deciphering where one sound ends and another similar one begins. And it’s another psychoacoustic phenomenon that our ears are incredibly forgiving (or put another way, easily deceived) when it comes to layering sounds together, even across wider ranges of the frequency spectrum – done carefully, they simply won’t distinguish between the separate components and will ‘read’ the sound as one big, textured sound. This is basically how musical chords work, and it’s also a huge principle behind creating an expensive and lush ‘Hollywood’-style sound design, and really complex, ‘How did they do that?’ effects in electronic music.
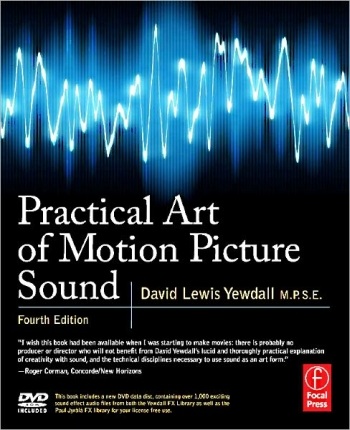
In his book on the Practical Art Of Motion Picture Sound, David Yewdall talks about creating layered sound effects as though there were ‘chords’:
i.e. a single effect is made up of several individual sounds/‘notes’ each occupying their own frequency range (this is key to avoid simply masking one sound with another) and adding their own timbre or dynamics to the whole, and all together they provide a depth, texture and power that is simply not possible with a single-source sound, no matter how much it’s processed.
You can use this technique for everything from layering whole stacks of guitar or synth parts into towering walls of sound (that can then also be spread across the stereo field with the Haas Effect), to building signature drum kits by layering up frequency and timbral elements from many different sources to create the ultimate Tech House kick or Dubstep snare drum. The possibilities for tricking our ears are endless!
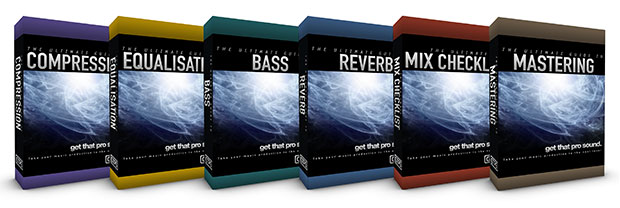
I hope you’re inspired by this ramble through the worlds of psychoacoustics and sound design. Don’t forget to leave a comment below, and take a look at the Ultimate Guides Series of ebooks that go into further practical details about implementing these concepts in your projects:





38 Comments
Very interesting, good work!
Thanks!
Great article! I remember Henry Mancini used to purposely mix the bass at extremely high levels relative to the rest of the mix as he knew they’d get lost otherwise when heard on TV. This, he said, was a key part of his sound (along with the classic 5 flutes orchestration) as much of his work e.g. Theme from Peter Gunn, was very much bassline lead.
Thanks Paul, a great example of mixing with the end in mind :) Just listening to ‘Lujon’ now, another one of Mancini’s where the bass/riff really punches underneath those sweeping strings…
This is an incredibly comprehensive article for its short length. Lots of great food for thought here! You especially had me when you referenced Amon Tobin’s work on “ISAM,” one of the most strikingly effective electronic albums I’ve heard in a long time.
Thanks Nick, I really appreciate your comments – and shared appreciation of Amon Tobin :)
Thanks, great article
Thanks Alex!
First of all : THANK YOU!
I’m trying to be a professional music producer and i found these tips MAGICALLY USEFUL!
You know?
These tips that you pointed out are tips that are EXTREMELY NEEDED for creating a COMPLETE UNIVERSE!so musicians should KNOW them to be able to creat their UNIVERSE OF SOUNDS!!
Great job dude
Thank you so much for this dedicated and enlightening work
Very inspiring information! I tried the haas effect on a mono track before i even got to the other eight tricks – it was like magic. Thanks for sharing your knowledge with all of us.
You’re very welcome David, thanks for the comment!
Awesome article!
Excellent! Keep up this magnificent work.
the best article about psychoacoustic i ever read! Thank you! :)
Really helpful stuff. Too bad the industry hardly practices these things and layer one sound over the other, over and over. :) It’s ear fatigue all the way. Hope the future sound designers stick to the fundamentals (and follow basic psychoacoustic principles) such as those featured here.
some nice mixing ideas, here.
you’ve inspired me with a couple of these.
thanks.
Thanks for the great article. One point that I find confusing is the suggestion to exaggerate bass for impact. In my experience this is great for music destined for low SPL listening levels, but it could be a problem for playback in a club over a PA. For the same reasons stated in the article about the Fletcher Munson curve: at high playback levels these extremes of the hearing spectrum are amplified to our ears and can thus be overbearing and, in fact, steal headroom from your mix. This is why a common error in dance production is too much subsonic bass. If you analyse the spectrum of professional dance productions, you’ll notice that the energy below 50 hz is FAR lower than the energy at, say, 120hz. So be careful out there, it is a delicate balance!
I never tire reading about the many different ways you can approach a mix.
Great Article George.
Thank you.
This is some really great info!
Thanks
Single most precious mixing article online! I haven’t seen this much insanely valuable knowledge in a single article and I’ve read hundreds of them, at best barely scratching the surface of what you talk about here. Thanks a lot!
Great article ! I wouldn’t take out anything, there are so many good insights into the mystery of good listening.
The eloquence and direct talk is a plus. Super !
Very insightful information. A lot of the techniques mentioned here us mixing engineers probably instinctively know but it’s great to have the referenced proof of the nuts and bolts of how sound is perceived. Great article :0)
Really interesting and useful information. Do you mind sharing the references and sources you used for this article?
Not sure it exists, but could use some kind of metering algo that tries to estimate perceived volume (not actual) differences vs changes in gain, since bass has more gain energy, etc…but overtones, formants, etc bear largely too. So this concept would have to be customizeable for the type of sound. (‘acedemic’ equal loudness contour would only work with the simplest waveforms). So complex sound contours would need to be done ‘by ear’ I think..but idk. I find this subject very interesting and seems to be a natural evolutionary advancement to mixing theory/tech. ..trying to semi-objectively quantify perceived loudness of difference sounds. Seems kinda crazy, but I wonder how practical it might end up being. Of course this must have been thought about much over the years. It ‘s just an area not so widely discussed at a really deep level. So idk what the state of the art is.
And a related thing, a multiband compressor that attempted to keep the spectral balance exactly the same as input would also be a great thing. ‘Neutral Multiband’ Would be a great ‘starting point’ (and often great ending point). I would kinda be surprised if that didn’t already exist. Seems like something a computer should be well suited for.
I think multiband compression is invaluable, and that fullband should be more often treated as unacceptable for the inadequate cousin it is, instead of it being the ‘norm’ in average musician’s discussion. All compression so often colors the spektrum so much it really should be thought of unintended EQ, but not the kind of EQ we instantly relate to., It’s and artifact that’s not readily predictable. But I think tools could be made to tame it, if they haven’t been already. I’m only familiar with ‘manual’ ‘by ear’ multiband. Would like one that can match the output spektra to the input.
Thanks a bunch for creating this resource. I think it will help me a lot with making my beats sound louder.
This is a really nice less-is-more primer, providing first principles and then getting out of the way, to let you learn from experiments, without the burden of how-its-supposed-to-be. When out of own ideas, which may be never), just get the books, I presume. Great.
Dear writer,
It would have been great if you have had your name written and maybe some information about you. In case someone like me wants to use yor brilliant article in his studies and need to show some references.
Any that was written in a great way. thank you
Thx a lot! Very needful magic Informations!
Thank you very much for this article! This is just what I needed. I must admit I used some of these tricks without knowing about them, but there was a lot of other information I wanted to know and I’m really happy I found this article (and the site in general is really cool). Keep up the good work!
This is a good article.
Star wars fight seen sound is awesome very clear and effective, also matrix fight seen too unbeatable
A few music blogs I wasn’t aware of. Thanks.
Hey,
I really like your article. It was exactly what I was looking for because I knew that it is important for mixing to understand how sounds are perceived when layered together.
But still, I find it difficult to implement these tips. Do you also offer an online course in mixing/mastering to teach these techniques or are the books sufficient for learning? Because during my lifetime I found it much more effective, to do the work and hand it in to a pro so he or she can correct it and tell me where to enhance instead of reading books and doing it alone.
great article! :)
Its very irritating that there are no references in this article other than to some books that are sold on this very website and I cant find any George Robinsons anywhere on the internet. The article is interesting but how is anyone supposed to do further research or trust this article for that matter given the stated facts?
Hi Cam, glad to hear of your interest in the article, I should have included a warning label that I can take no responsibility for any irritation resulting from exposure to said concepts :P But seriously, I wrote this one a few years ago so I don’t remember which sources specifically I referred to at the time, and it’s not an academic paper so I don’t list references but I can tell you I’ve distilled these concepts from various books on mixing and sound design (some of which I also list in this other article: https://getthatprosound.com/17-music-books-that-could-change-your-life/ ), and of course parse that all together with things gathered from talking with colleagues and working on various audio projects and picking things up over the years. So I’d suggest taking a look at any of those books I mentioned that sound appealing, and you can always google specific terms if you want to deeper dive on any of the techniques and principles or terminology mentioned. Also drop me a message at george@getthatprosound.com if you have specific questions about anything, always happy to help if I can! Cheers!
A big Thank you! I really appreciate when a seasoned professional takes the time to distil best practices or tips around a problem and put them in writing for sharing with others. I found this article when I was reading about exciters/enhancers and EQ/phasing stuff. It helps you find connections you are unaware of.