

Reverb is a key part of any sound design project, because so much of the work in sound design in general is about defining a space, an atmosphere, within which sounds and actions are taking place. Reverb is one the primary tools in our sound design arsenal to set the audible parameters of the “environment” within which our sounds reside.
Beyond this though, reverb can be creatively misused much like any other audio processing tool, to generate wild, fantastical effects that are fr removed from simply recreating authentic acoustic spaces. Here are some tips on using reverb to warp space to your hearts content:
Catch up on the other parts in the series:
- Part 1 – Delay
- Part 2 – Distortion
- Part 3 – Layering
- Part 4 – Classic Modulation FX
- Part 5 – Stereo & Panning FX
- Part 6 – Pitch Shifting
- Part 7 – Reverb
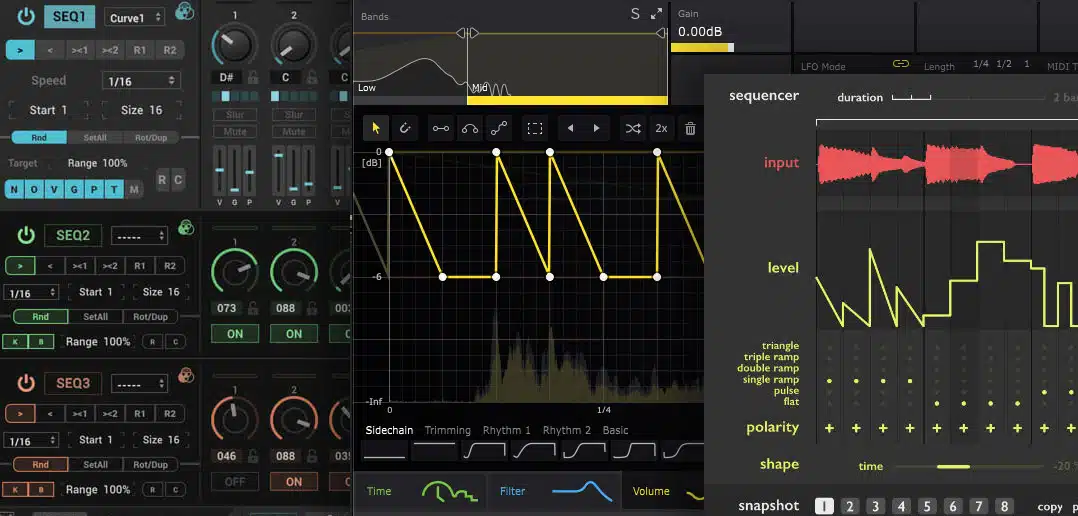
- Part 8 – Step Sequencers & Envelope Generators
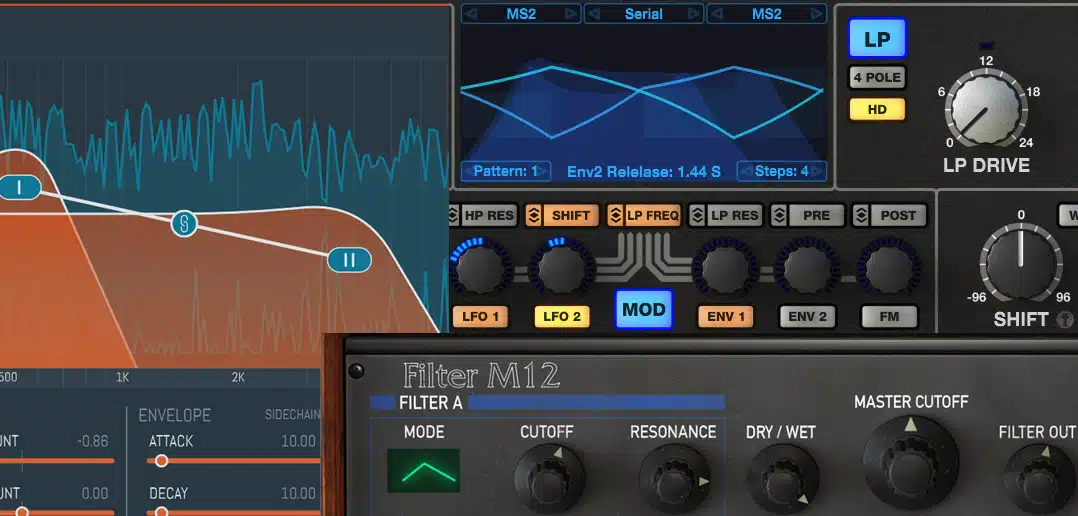
- Part 9 – Creative Filtering
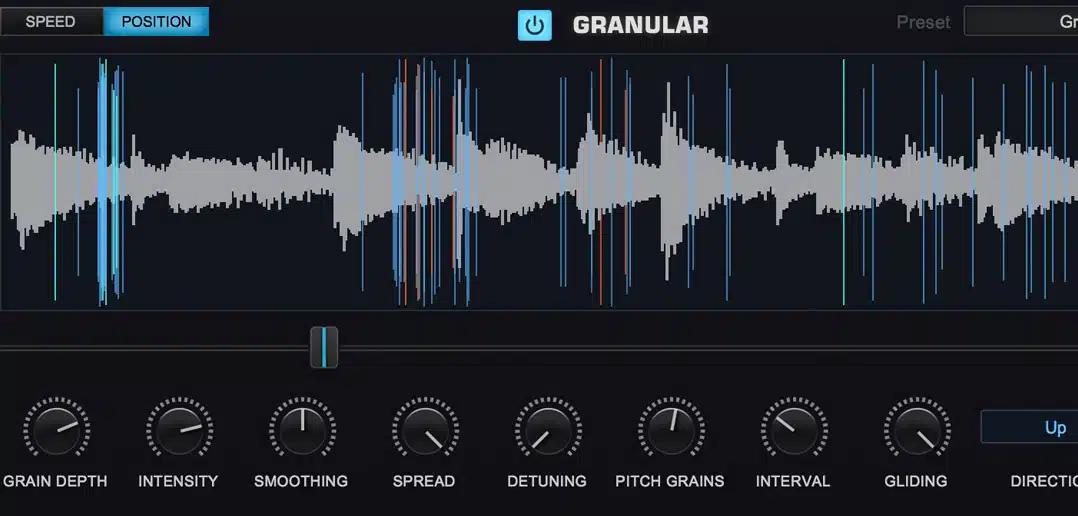
- Part 10 – Granular Synthesis & Sample Processing
1. Wet & Dry: Automate The Balance Between The Reverb And The Original Signal
Consider the balance and relationship between the dry and wet signals. The simplest reverb trick in the book: send your dry sound effect to a long reverb; mute the original and keep just the reverb. You’ll need to make the send Pre-fader, and then simply drop the fader of the original sound right down. Instant ghostly, atmospheric pad, or huge cavernous boom (and in sound design, you can never have too many of those).
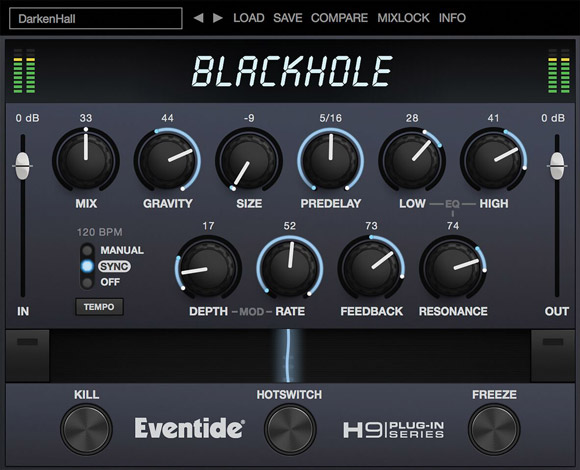
However, you don’t have to keep your wet/dry balance static. Automate the levels of each over time, and you can come up with some great dynamic variations on, for example, layered spot FX, as the dry sound gradually blurs into a cavernous or metallic reverb tail, or vice versa. The more different the reverb tone is from the dry sound, the more interesting and dynamic the effect can be. Experiment with models of spring and plate reverbs for maximum metallic clangs and dark booms; or try very smooth and long “endless” reverbs like that generated by Valhalla Shimmer, or the Eventide Blackhole plugin or Space hardware FX box, for example, and rapidly flick the balance back and forth between a dry sustained sound like a synth pad and it’s reverbed version for either interesting subtle movements or dramatic transition effects.
2. Add Other Processing Before The Reverb In Your FX Send Chains
If you’re fairly comfortable with advanced mixing techniques in typical song-based projects, you’re probably very familiar with EQing and compressing your reverb returns as a common practice for shaping your reverbs presence and tone to best fit into a full mix.
In a sound design context, you can also achieve some very cool, subtle and interesting effects by adding other types of effects processors before the reverb in the send chain, to further differentiate the reverb from its source.
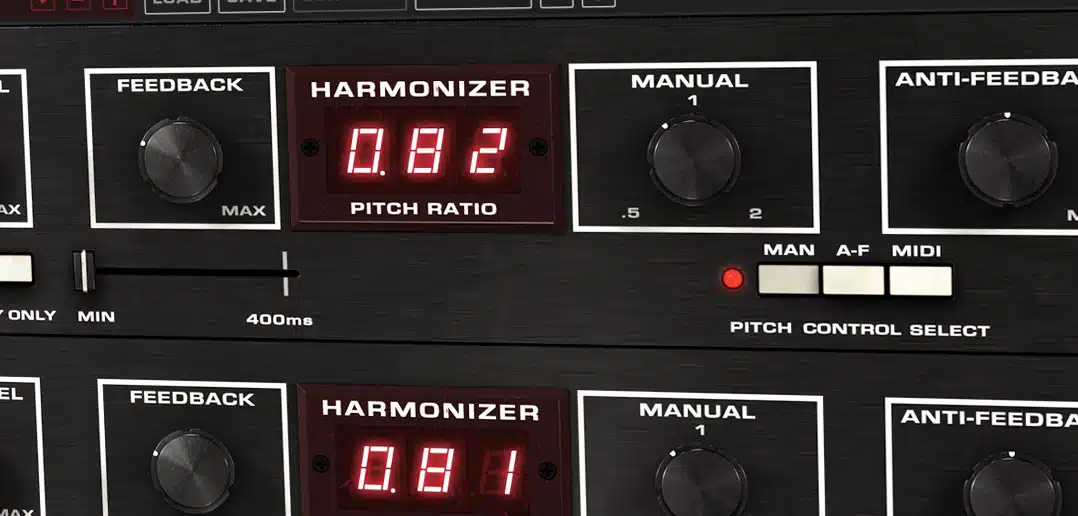
For example, try inserting a pitch-shift plugin set to a few semitones, or even a whole octave, up or down right before the reverb, and sending the original sound to this combination. This way, you’ll keep the pitch of the original intact on its own channel, but its reverb/ambience send channel will be at a different pitch entirely.
Distortion, either subtle saturation or heavy in-your-face crunchy obliteration, can also be fantastic on reverb sends, leaving the dry sound tight and clear, but with a swirl of crunchy atmosphere sitting just behind it with the disto-reverb. Experiment with all the other typical effects in combination with reverb too: modulation effects like phasers, flangers and chorus, and stereo auto-panners, all work well, adding a sense of movement even when the dry sound is set to a static pan position.
3. Add Reverse Reverb To The Front Of Any Impact Sound FX
Most producers when starting out in a DAW quickly discover the joys of reversing almost any sound with a decently long decay/tail portion to create instant whoosh and riser/fill FX.
What you might not be as aware of is how often in sound design you can use very subtle versions of this principle to add an almost subliminal sense of anticipation and impact on a micro scale.
Even if very short and subtle, the tiny, sometimes subconscious “whoosh” that signals an incoming hit works psychoacoustic magic. You can enhance the effect further by using a filter to make the reverse reverb whoosh relatively high-frequency, then very quickly sweeping down and transitioning to a bass-heavy boom. The stark high-low contrast is custom designed to pique our ears and attention, and lends extra impact to your, um, impacts.
4. Get Convoluted: Feed Convolution Reverbs With Unusual Audio Samples Instead Of Typical IR Samples
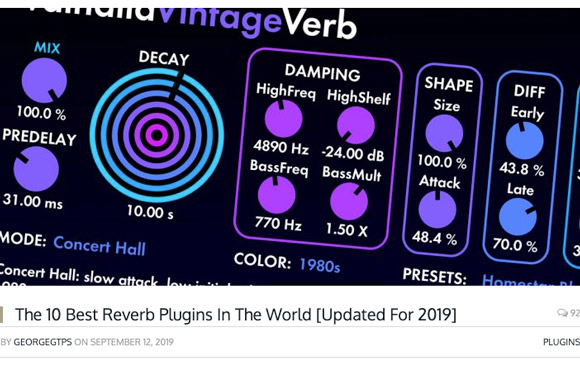
If you have a convolution reverb like Altiverb or any of the convolution reverbs mentioned in our 10 Best Reverb Plugins article (many of the major DAWs now feature a bundled convolution reverb plugin such as Logic Pro’s Space Designer and Cubase 10’s REVerence), it will usually allow you to load in any audio file as an IR (Impulse Response). This is the part that tells the reverb processor in a sense how to respond, what “shape” it should be dynamically and spectrally. Obviously then, this is open to massive creative misuse potential: try loading everything from snappy percussion hits to short synth loops and weird rhythmic samples.
5. Use Pre-Delay To Disrupt, Glitch Out The Spatial Relationship / Expectations
Pre-delay determines the length of time between the start of the original sound and the onset of the reverb itself. Pre-delay helps provide a psychoacoustic sense of how large the space is that the sound appears to be in. But in an audio mix, pre-delay can also be used to lend clarity, artificially separating the dry sound from its reverb tail so that you get both the punch and presence of the effected sound, and a sense of spatiality, atmosphere and depth.
In especially rhythm-driven music — i.e. most modern styles — you can also get good results by calculating and tuning the pre-delay of reverb applied to drums, percussion and melodic parts to the BPM of the song: a neat trick that helps retain the aforementioned clarity and punch of percussion, but can also be timed to groove with a songs overall tempo.
Now, as is often the case in a sound design context, great and interesting results can be achieved through dialing the controls to crazy, extreme values that you might never think to use when working in a more conventional “mix” context. Try cranking the pre-delay on your reverb so far that the reverb tail completely separates from the original sound (works well with loops, adding another disembodied loop behind the original groove). Or just far enough that the two only just touch, the dry sound almost finished before the reverb swells up. Which times work best might depend on your dry source material: a sound that has some element of rhythmic, pulsing or repetition to it, can be given a slick coat of organic pre-delayed reverb that can help reinterpret the rhythm altogether. Also, again, remember that none of your settings need to be static: try automating the pre-delay time along with other reverb parameters to create a constantly shifting relationship between dry and wet signals.
6. Sidechain Compress A Long Reverb Tail For Dynamic “Cloud” Atmospheres
When generating long bursts of reverb to make atmospheric pad sounds, you can often get a good atmosphere but the sound might lack movement, the kind of “shimmer” that really breathes life into relatively static sounds. If you want to add additional movement to reverb atmospheres, one great way is to use sidechain compression. Set up a compressor on your reverb effect send chain (you might already have this in place if you followed tip 2 above), set it to a fairly extreme compression amount, and then set up a separate channel to feed the compressors sidechain input. All standard sidechain compression stuff. Then, try playing back a number of different rhythmic loops and other samples to trigger the compressor and make the reverb duck every time the rhythmic loop hits. Mute the channel feeding the sidechain, and you are left with just the ducking and whooshing reverb being audible. Instant weirdly dynamic, shifting and sliding reverb tails that ebb and flow apparently of their own accord, and that can be in tempo with other elements or have a completely unrelated timing (depending on the trigger loops tempo) that can be much more interesting and lead to all kinds of happy rhythmic accidents for resampling.
The Best Reverb Plugins For Sound Design
We recently updated our 10 Best Reverb Plugins In The World for 2019, so rather than re-listing the same plugins here, go check that out for a very comprehensive rundown of all your reverb options for every possible use case, style, workflow and tone:
For a lot more reverb tips, plus a complete overview of what, when, how and why to use reverb in any mix context, check out The Ultimate Guide To Reverb, part of the Ultimate Guides series, a definitive collection of tips and techniques for enhancing your music to a professional level:
If you liked this post, you’ll definitely find these useful too:
What’s The Best DAW Music Production Software, Really? An Essential Buyers Guide
25 Of The Best Drum Plugins In The World
10 Ways To Make Your Soft Synths Sound More Analogue